
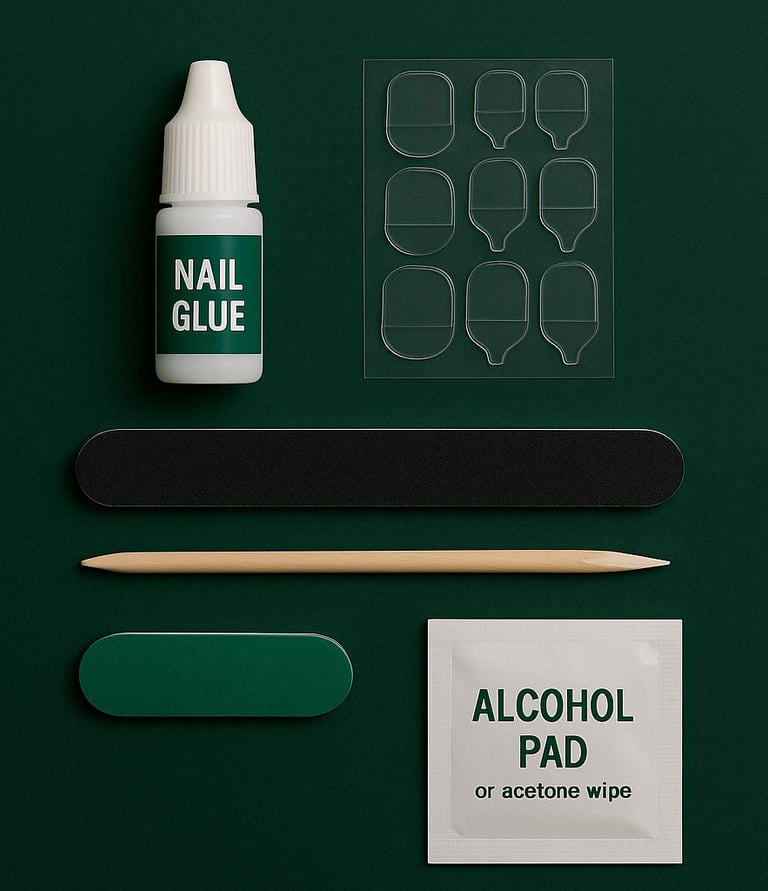
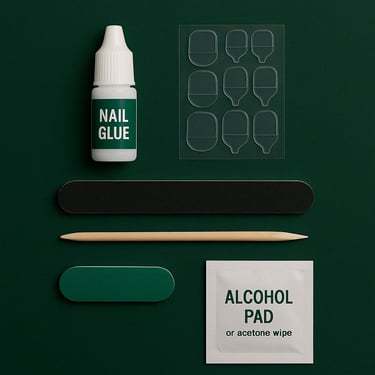
WHAT YOU'LL NEED
Hart of Nails Press-on set!
Nail glue or adhesive tabs (included with a purchase of a press on set)
Nail file & buffer (included)
Cuticle pusher (included)
Alcohol pad or acetone wipe (included)
Step 1
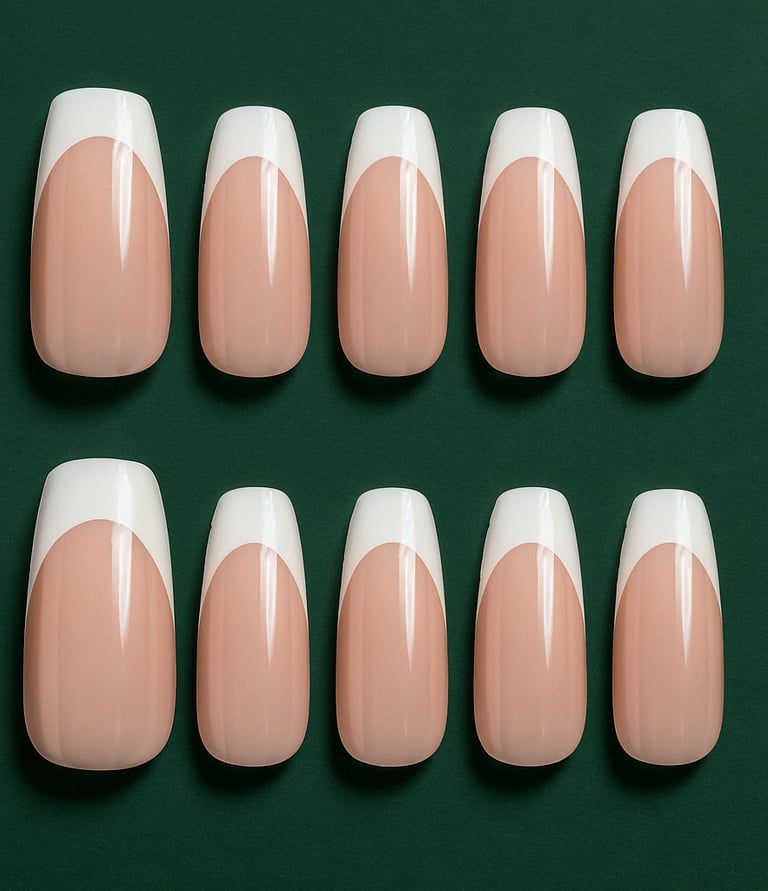
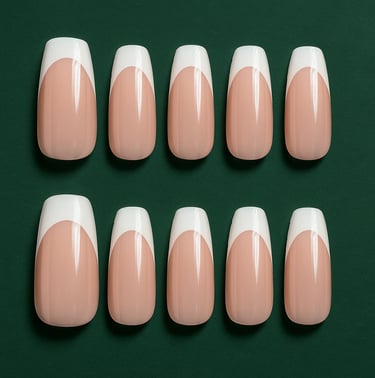
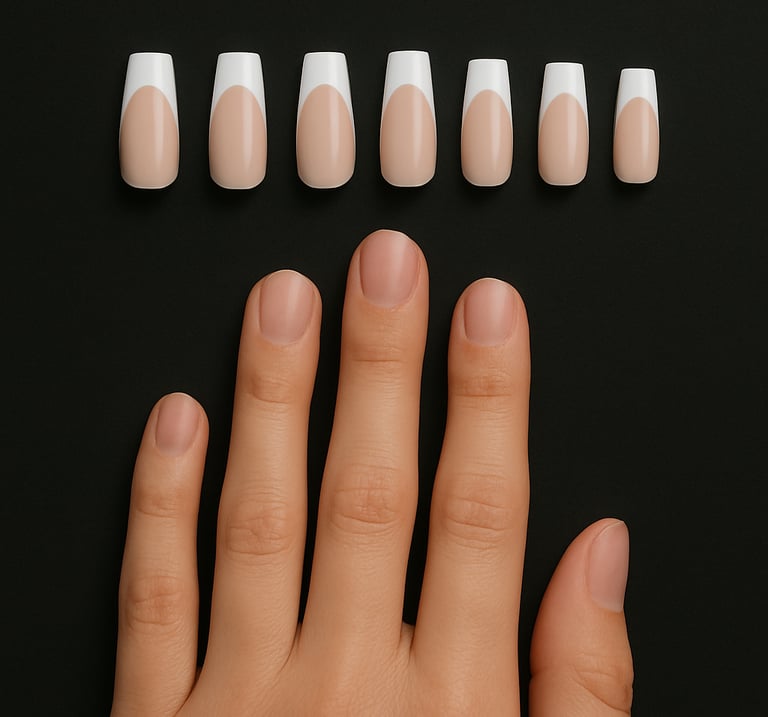
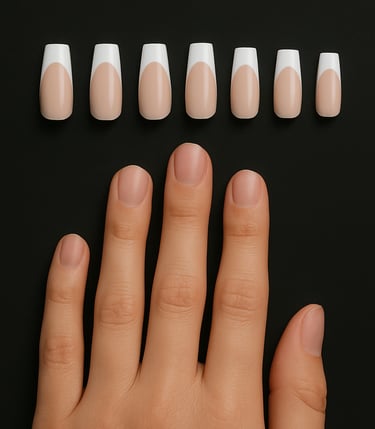
CHOOSE YOUR SIZE
Select the appropriate press-on nail sizes for each finger.
Match each press-on to your natural nails.
If needed, gently file the sides for a perfect fit.
Step 2
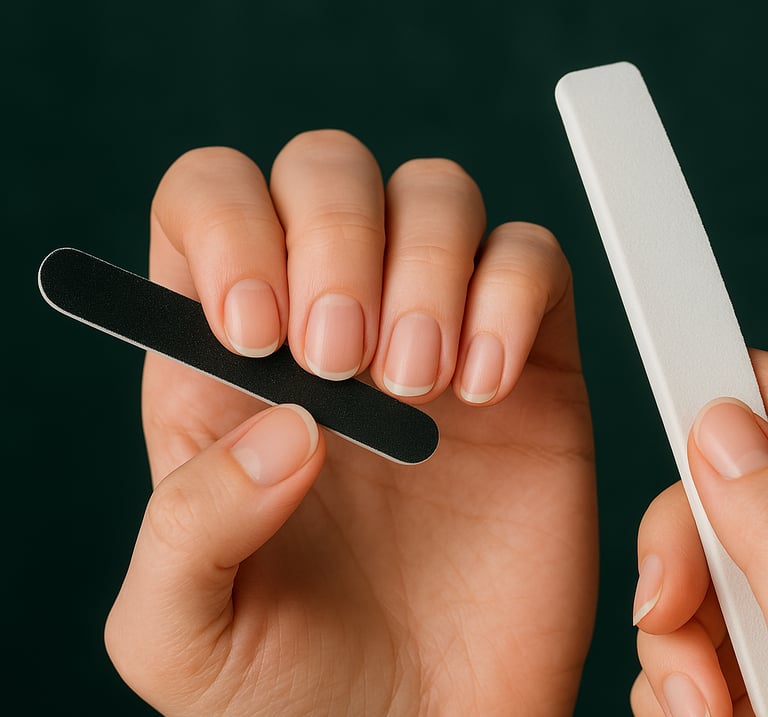
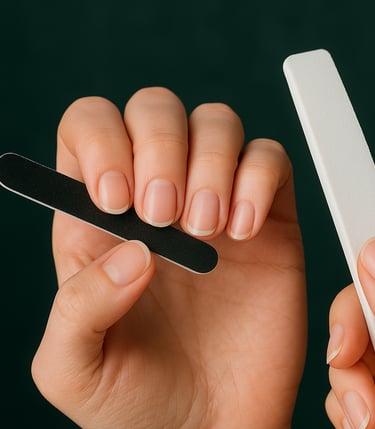
PREP YOUR NATURAL NAILS
Cleanse Your Nails: Remove any existing polish and oils from your nails
Push Back Cuticles: Gently push back your cuticles to create a clean nail bed.
Shape and Buff: File your nails to the desired shape and lightly buff the surface to remove shine
Final Cleanse: Wipe nails with a lint-free wipe to remove any dust or residue.
Step 3
APPLY THE PRESS ON
Attach the press-on nails using your preferred adhesive method.
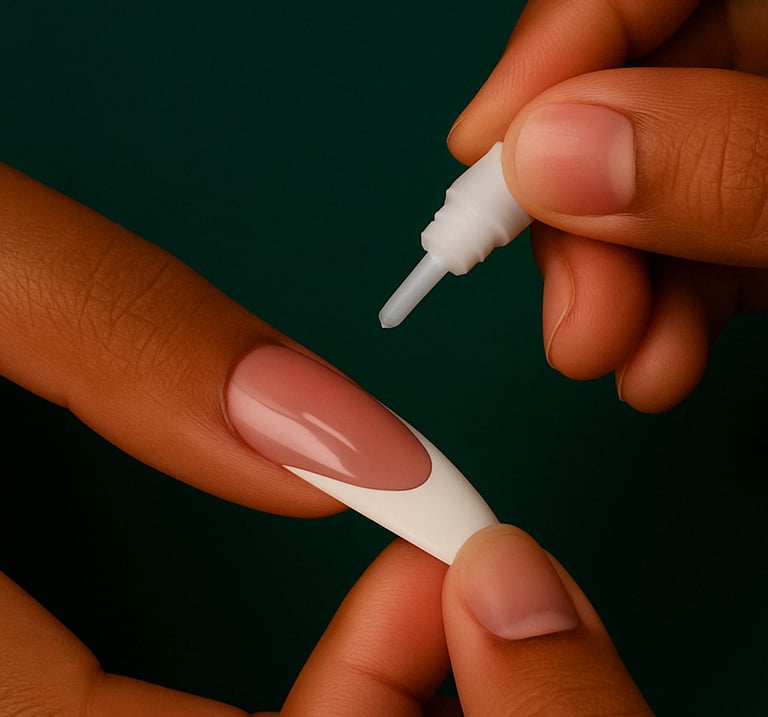
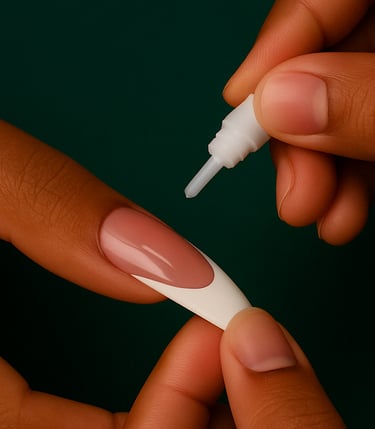
Option A: Nail Glue
Apply a thin layer of glue to both your natural nail and the back of the press-on.
Press and hold firmly for 10–20 seconds.
Option B: Adhesive Tabs
Apply the adhesive tab to your natural nail.
Press the press-on firmly on top and hold for 10–15 seconds.
Step 4
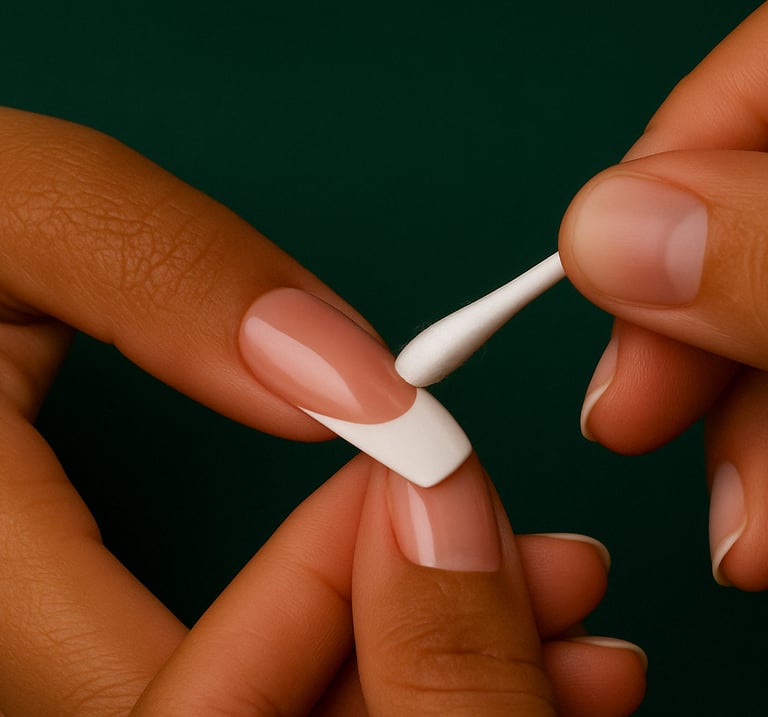
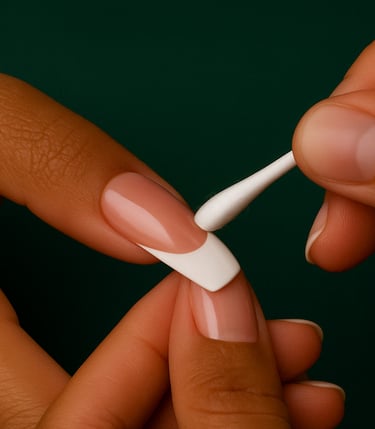
CLEAN UP
Wait after application to allow the glue to set.
Check each nail for excess glue around the edges.
Use a Q-tip with nail polish remover to gently clean any visible glue.
If glue gets on the press-on, wipe the surface with a paper towel lightly soaked in acetone.
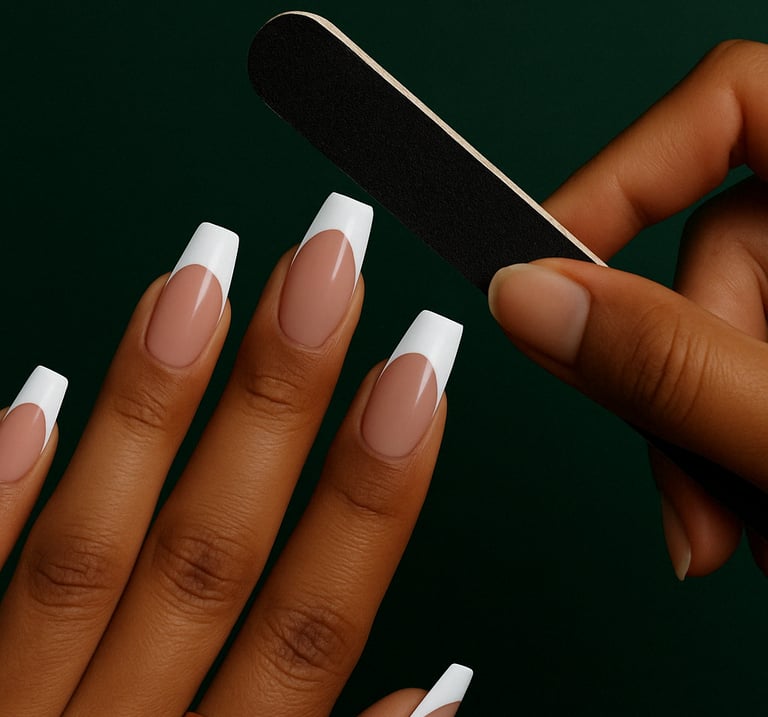
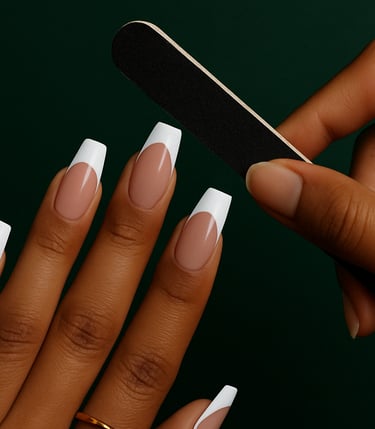
Step 5
SHAPE THE NAIL SET
Press-ons are totally customizable, so take a moment to shape them to your liking.
Gently file around the edges to smooth out any rough spots or sharp corners.
If your natural nail peeks out along the sides, file it down to match the press-on for a seamless finish.
Notice a nail looking a little off-center? A quick side file can help straighten it up visually.
Once they feel comfortable and look clean, you're ready to flaunt your flawless set!